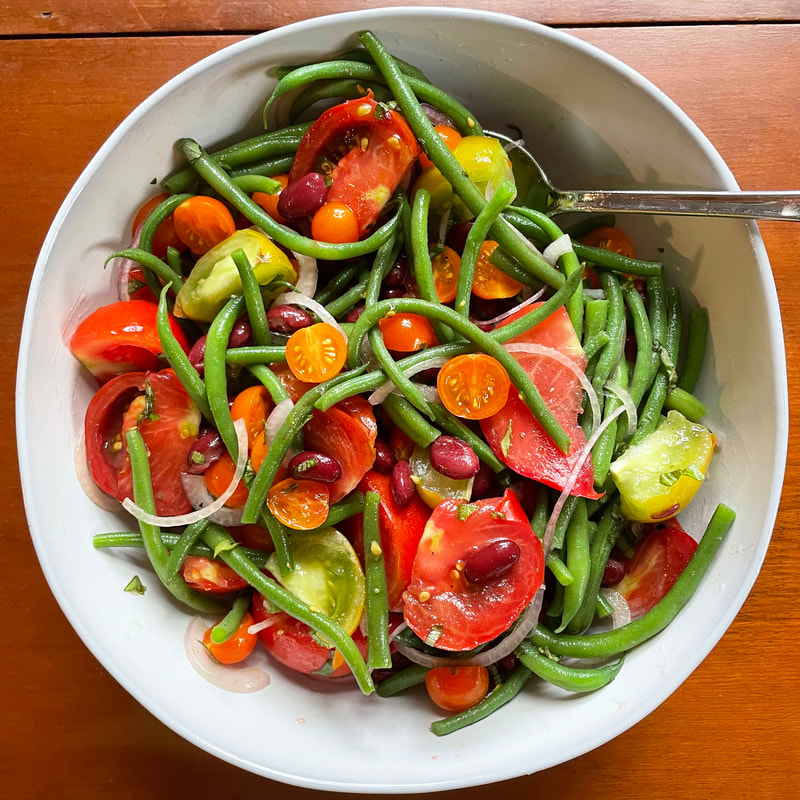
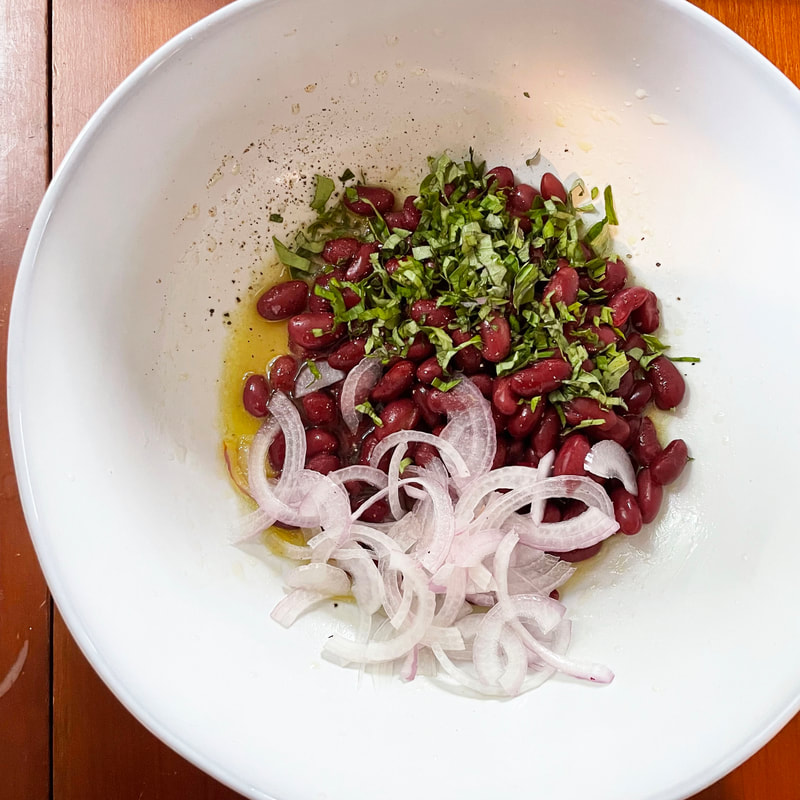
 Here we are in the heat of the summer and that means we are in the prime of tomato season! The tomato plants in the high tunnels are nearly 9-10 feet tall (no exaggeration) and the tomatoes out in the fields are heavy with fruit and beginning to ripen. We can barely keep up with the quantities of fruit they are baring and that means lots of tomatoes to use up in the kitchen. It is the perfect time to enjoy their amazing flavors raw, show off their lovely colors and throw some beans into the mix, because they are absolutely delicious right now too. This salad is so simple and whips up in a snap. It gets even better as it sits in the bright, cider vinegar and honey dressing and the thinly sliced Tropea onions bring so much flavor to the mix. To top it off, the fresh flavor of basil gives the whole dish a fresh, green flavor that screams summer. It's the perfect side dish to any dinner, makes a great lunch, or a wonderful dish to bring to a family or friends gathering. All you need in a pot of boiling water to quickly blanch the beans, a cutting board, knife and bowl to dump all the goodness into and you'll be in summer salad heaven in less than 15 minutes! -Kristi 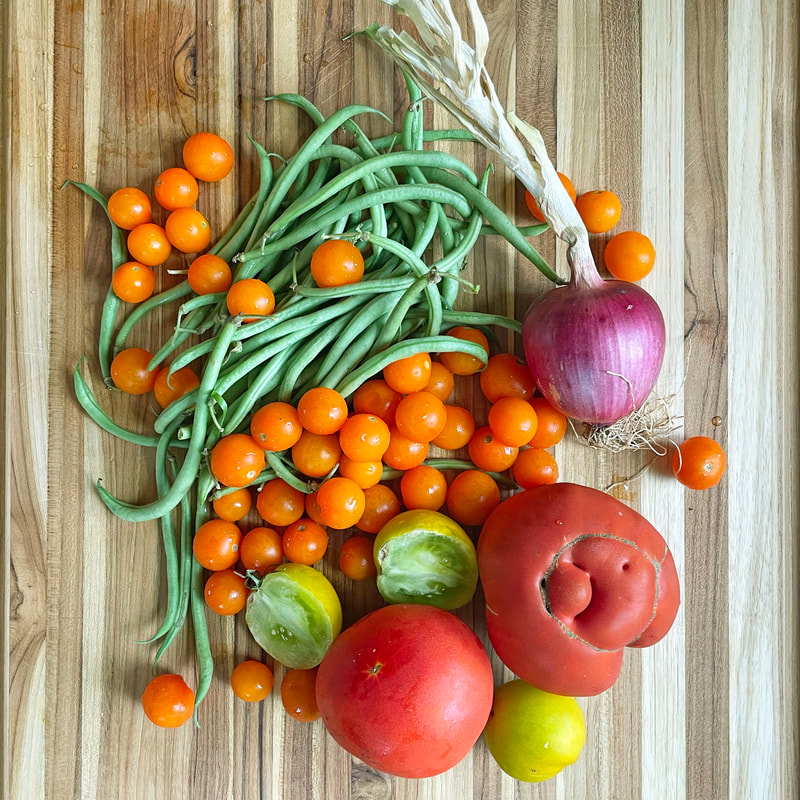 RAINBOW TOMATO + DOUBLE BEAN SALAD.THE SALAD
THE DRESSING
PREPARATION 1. Bring a large pot with about 6 inches or so of water to a boil. You want your beans to be able to be submerged as best you can. 2. Rinse ½ pound of green beans and trim off tops. 3. Once water has begun to boil, add a generous pinch of salt and stir in the green beans. 4. While the beans begin to cook in the water, take a large bowl or container, set it in the sink and fill it half way with cold water. Add plenty ice cubes to the water. 5. After about 1-2 minutes of cooking in the boiling water and they begin to turn a rich green color, remove the beans with some tongs and immediately submerge them in the ice water. Take them out before they actually begin to soften because they will continue to cook a bit in the ice bath and you definitely want crisp beans for this recipe! 6. Let them sit in the water until they have cooled, remove them and pat them dry on a clean towel. 7. Chop the Chef's choice tomatoes into big chunks and slice the Sungolds in half. 8. Thinly slice half of a small Tropea onion into half moons. 9. Thinly slice fresh basil. 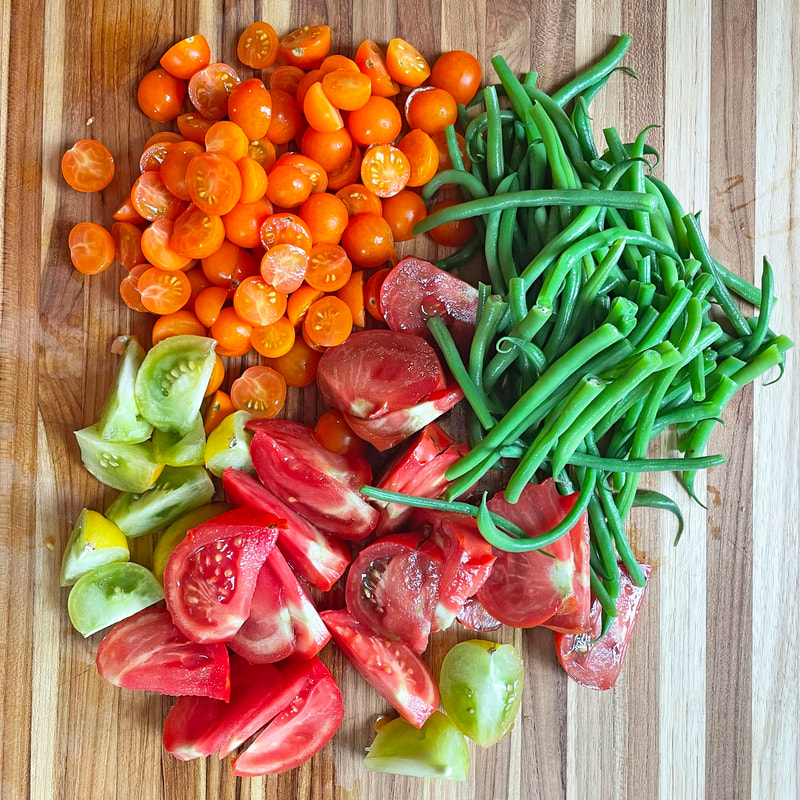 10. In a large serving bowl, add honey, apple cider vinegar and olive oil and whisk until fully combined. 11. Next drain and rinse your can of beans and add to the dressing, along with the sliced onions and fresh basil. I prefer Cannellini beans for this recipe, but I only had kidney! They still tasted great though. Use whatever you enjoy and have on hand. 12. Sprinkle with some coarse salt and few grinds of fresh pepper and combine. 13. Finally, add your remaining veggies and stir well. 14. Add any additional salt and pepper to taste and serve! 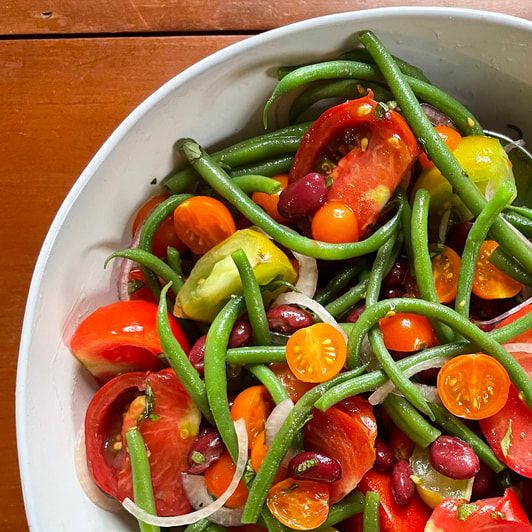
0 Comments
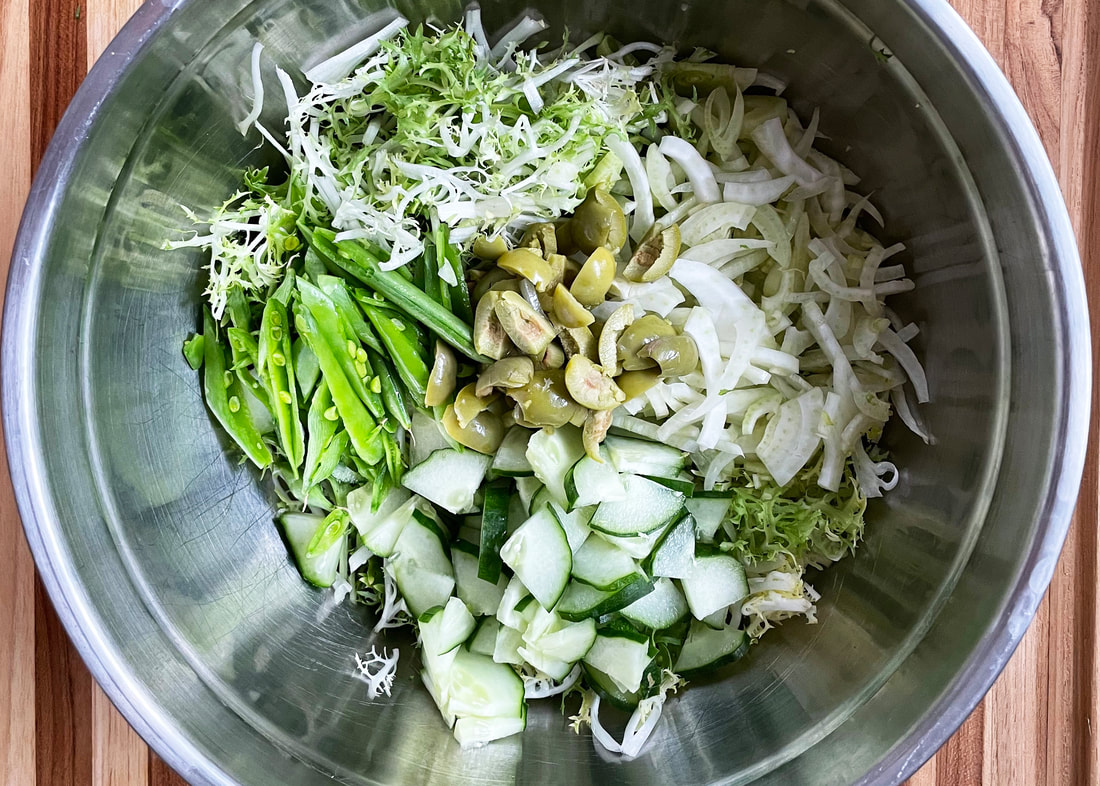
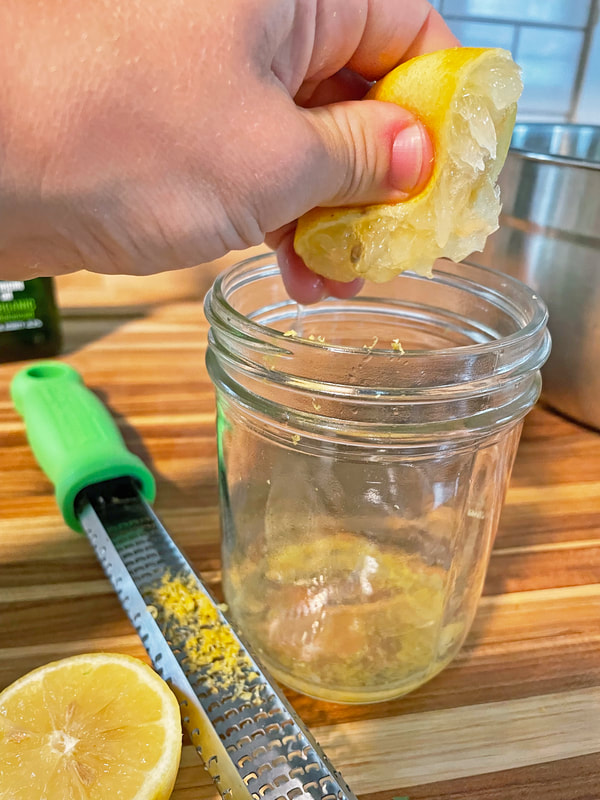
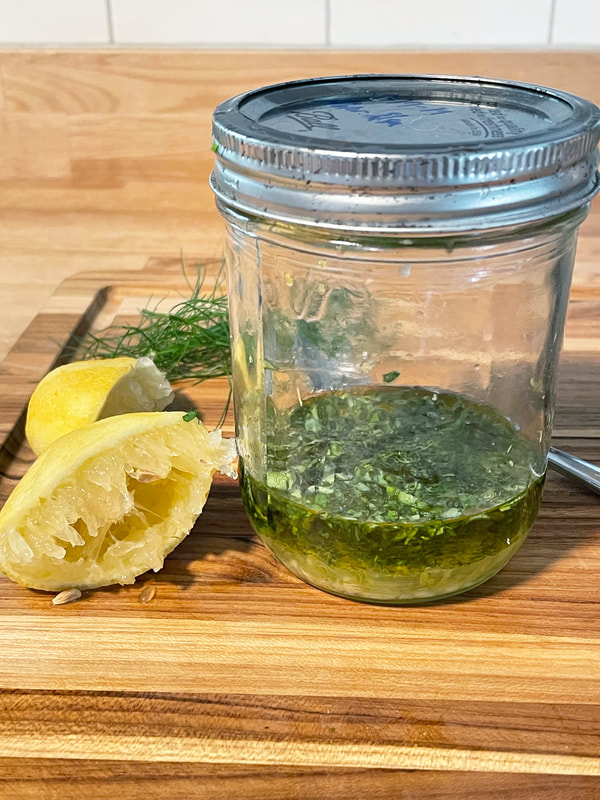
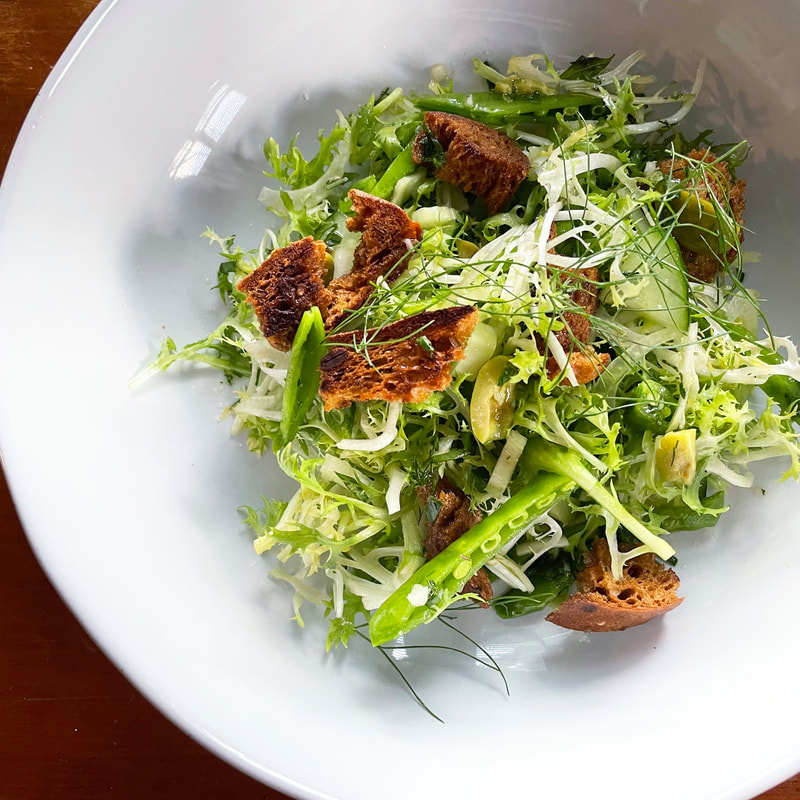 It's the time of year on the farm where we have almost every vegetable imaginable ready for harvest, the most daylight of the year, and more work than we'll ever have enough time to complete. At the end of one of these long days, I often end up throwing together a salad kind of like this to accompany a simple protein or eat it on its own. As Devin and I take our final walk of the farm before leaving for the evening, I regularly cherrypick a random pile of veggies from the field as the nightly question of "What on earth am I going to make for dinner?!" begins to rattle through my brain. You'd think being around our veggies all day long, the cooking inspiration would be endless, but quite frankly, at the end of the day all we want to do is get home, shower, eat, and sit down! The texture and slight bitterness of the frisée is complemented well by the sweetness and crunch of the sugar snap peas and fennel and it all comes together with nice brine-y hits of olive and bright acidity from the dressing. The crunchy, torn bread gives it a little heft and in a matter of minutes, you've got yourself a darn good salad. One of my favorite parts, which was completely unintentional, is the fact that everything in this salad (except the bread) is green! I am not surprised this salad ended up this way, seeing as how the hot summer days have us constantly craving crunchy, hydrating greens for our end of the day meal, but I really loved how this salad looked when I finished it. Every shade of green imaginable and a whole spectrum of lush, green flavor to boot. As with all salads and recipes I like to share, it can be interpreted, switched around, and served however is most convenient to you, but it should always feel easy to throw together, taste incredibly fresh, and get you from standing, to sitting and eating as quickly as possible! (In true summer-farmer style) -Kristi VERY GREEN END-OF-SPRING SALAD + HERB VINEGARETTETHE SALAD 1 head frisée, rinsed, spun dry and coarsely chopped 1 pint sugar snap peas, rinsed and chopped thinly 2 bulbs young fennel or about 1 cup, cored, halved and chopped thinly ½ cup cucumber, thinly sliced, about 6” piece of cucumber 1/3 cup Castelvetrano olives, chopped (or any olive of choice) 4 pieces torn bread, we love a grainy sourdough or anything from Front Porch Baking Co. 1 tablespoon salted butter 1 splash of olive oil THE DRESSING 2 lemons juiced, or about 1/4 cup 1-2 teaspoons lemon peel, finely grated ½ cup extra virgin olive oil 3 Tablespoons olive juice from your jar of olives 1 teaspoon fresh garlic, minced 3 Tablespoons fresh basil, finely chopped 1 to 1 ½ Tablespoon fresh dill, finely chopped PREPARATION
 2. In a cast iron skillet, heat butter and splash of olive oil on medium-low heat. 3. Once butter begins to bubble a bit, coat the pan and add torn bread and toss around to coat with the butter and oil. 4. Let your torn bread toast. If your pan starts to smoke you can turn off the heat and let the bread toast with the residual heat. 5. When your bread is just starting to toast, toss it around and turn off the heat leaving the bread to dry a bit in the pan and get even more crunchy. Keep an eye out so you don’t burn anything! 6. Feel free to sprinkle with a pinch of coarse salt. 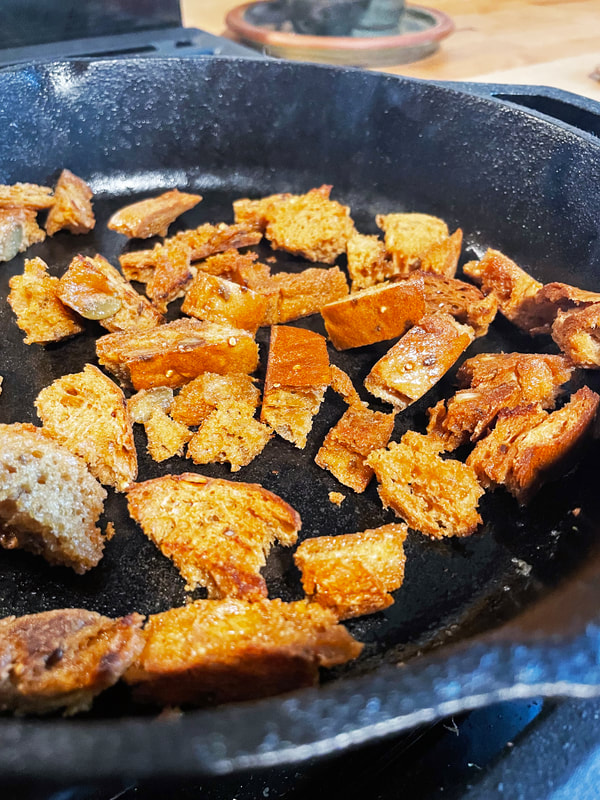 7. To prepare the dressing, pour all ingredients into a jar with a tightly sealed lid or into a blender or food processor, if you don't mind doing the dishes. 8. Shake vigorously in the jar or blend to your hearts content in a blender or food processor. 9. Pour half of the dressing into your prepared bowl of greens and veggies and toss well.
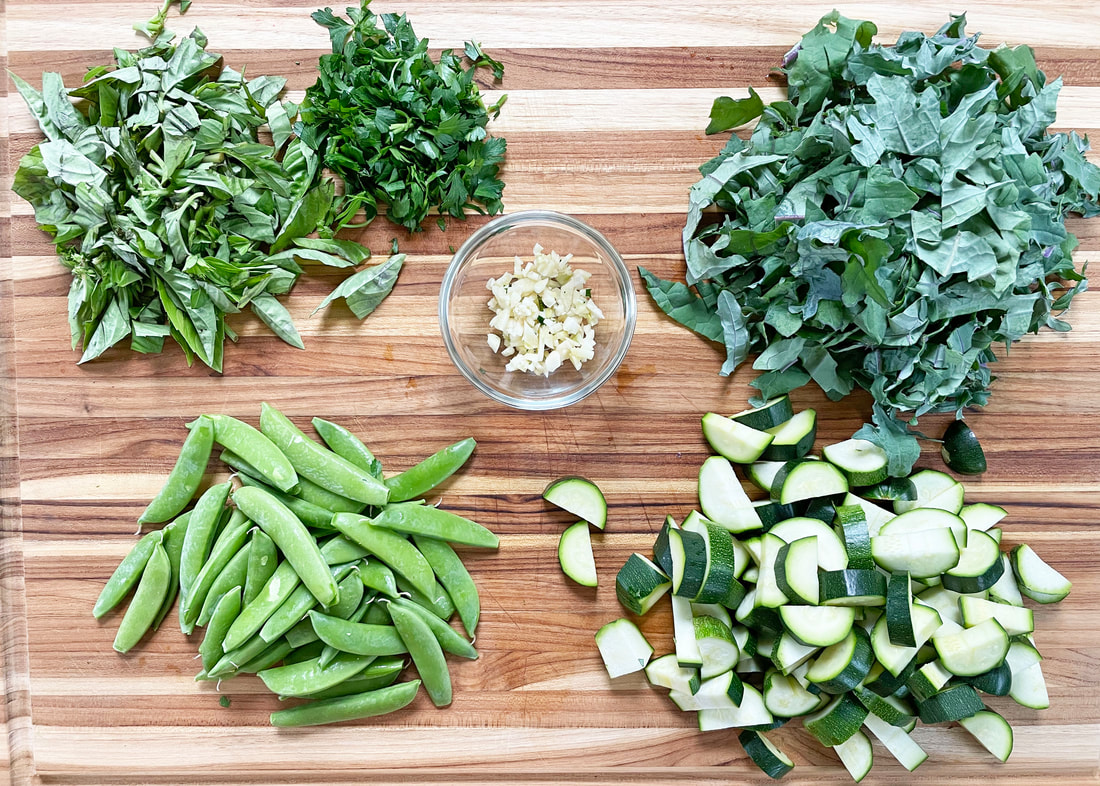
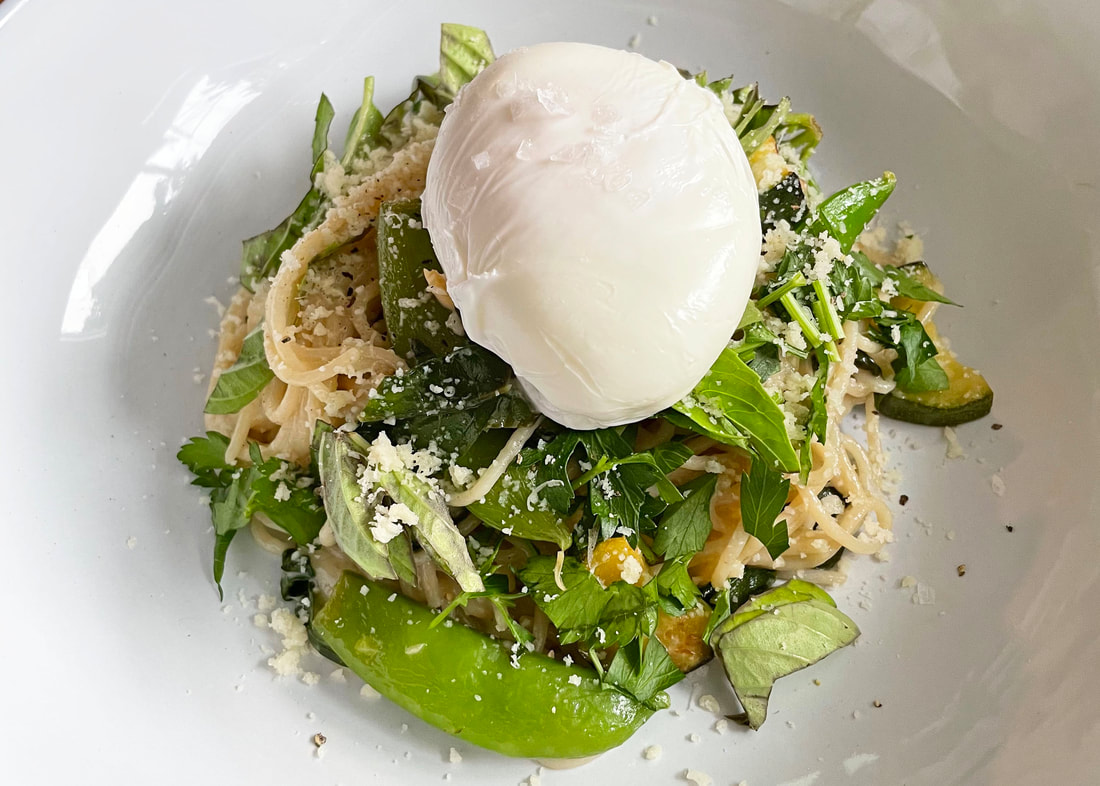
10. Plate and top with torn bread and extra drizzles of dressing. 11. This salad is wonderful with seared salmon, roasted chicken, or falafel! 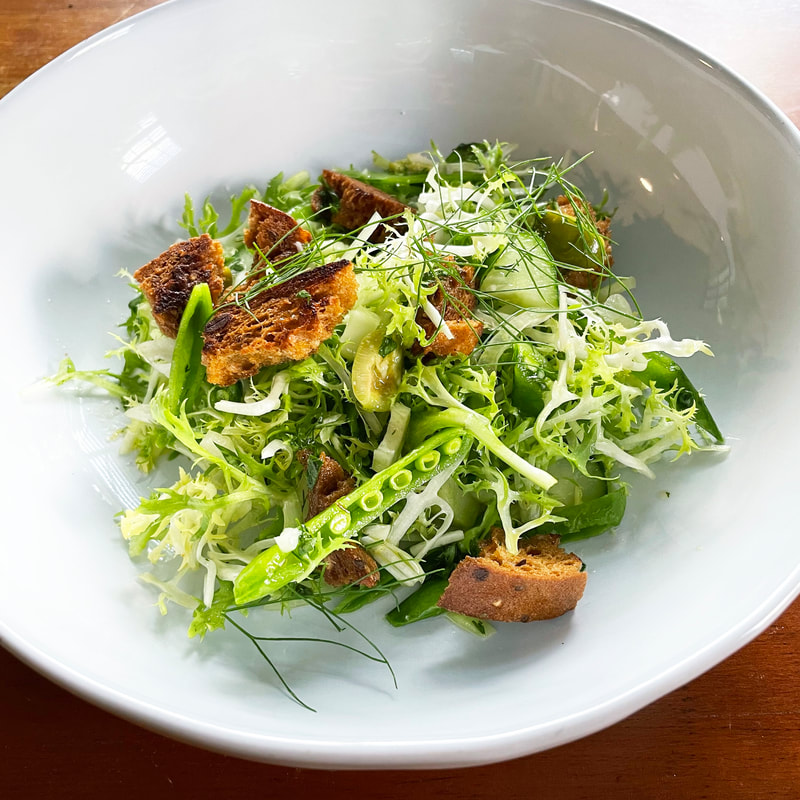 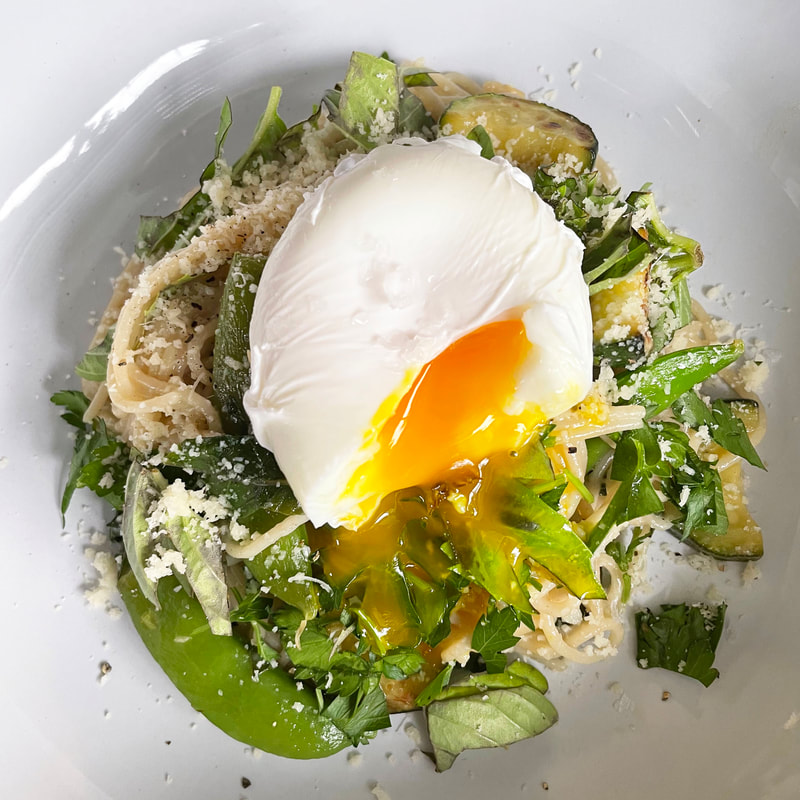 There is nothing more beautiful than the first veggies of spring. On the farm, we are typically so busy planting and planting this time of year, that the thought of cooking, let alone putting together a recipe, has felt out of the question. But after a day of picking sugar snaps and zucchini and then weeding the onion field for a few hours, a massive bowl of pasta with crunchy green veggies and the creamy, bright yolk of a Horse Shoe Ranch egg sounded like something I needed immediately. Lucky for me (and you) this recipe whips up super fast and will give you plenty of left overs depending on how hungry you are! One of my favorite things about this recipe is, all I have to do is pull everything out, chop the veggies, boil the water, and in one fell swoop we've got a pile of spring goodness on our plates. If poaching your eggs feels like a little too much work, feel free to fry them sunny-side-up! Whichever method you choose, I highly recommend doing something to keep that yolk a bit runny. It makes the most amazing "sauce" mixed into the pasta and cheese. You really will miss it if you omit it! 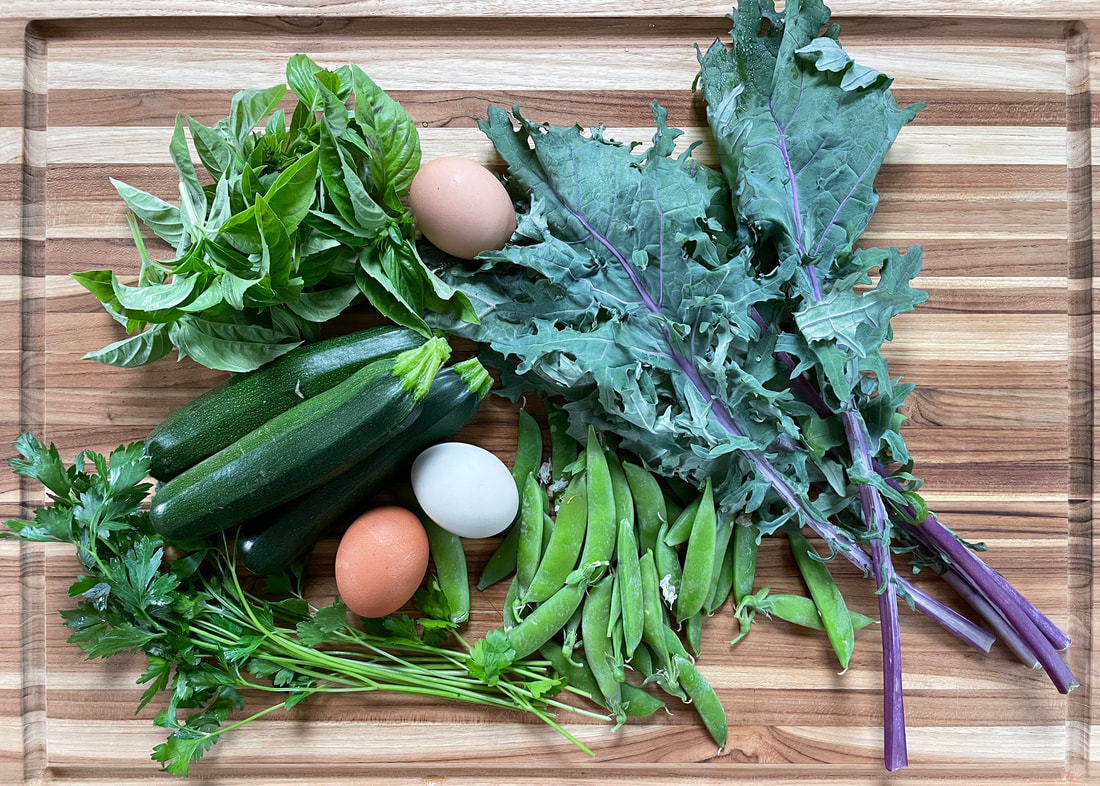 SPRING VEGETABLES WITH PASTA & POACHED HORSE SHOE RANCH EGGSINGREDIENTS
PREPARATION PREPARATION
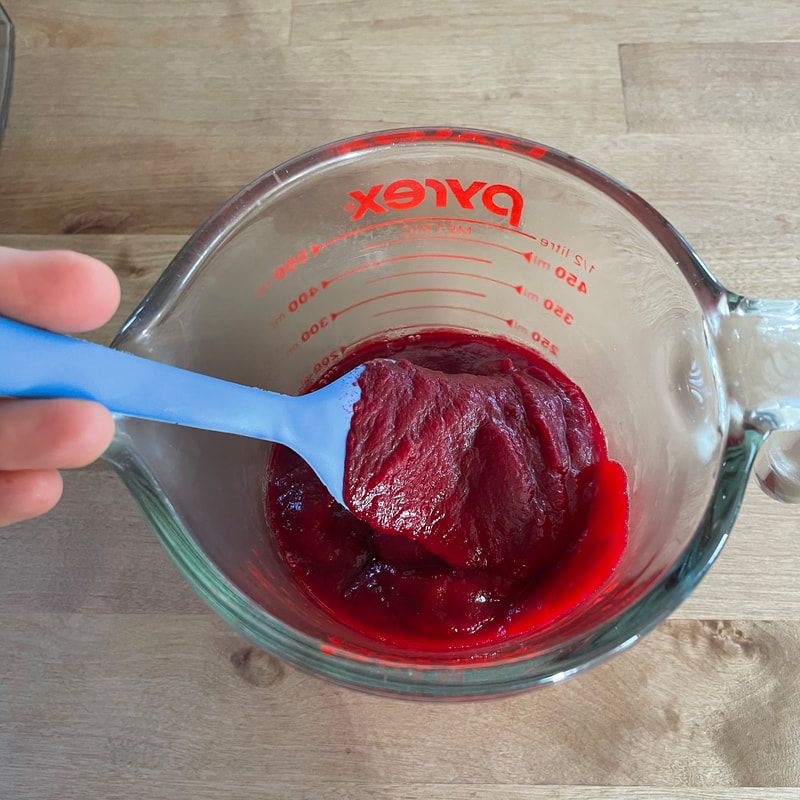
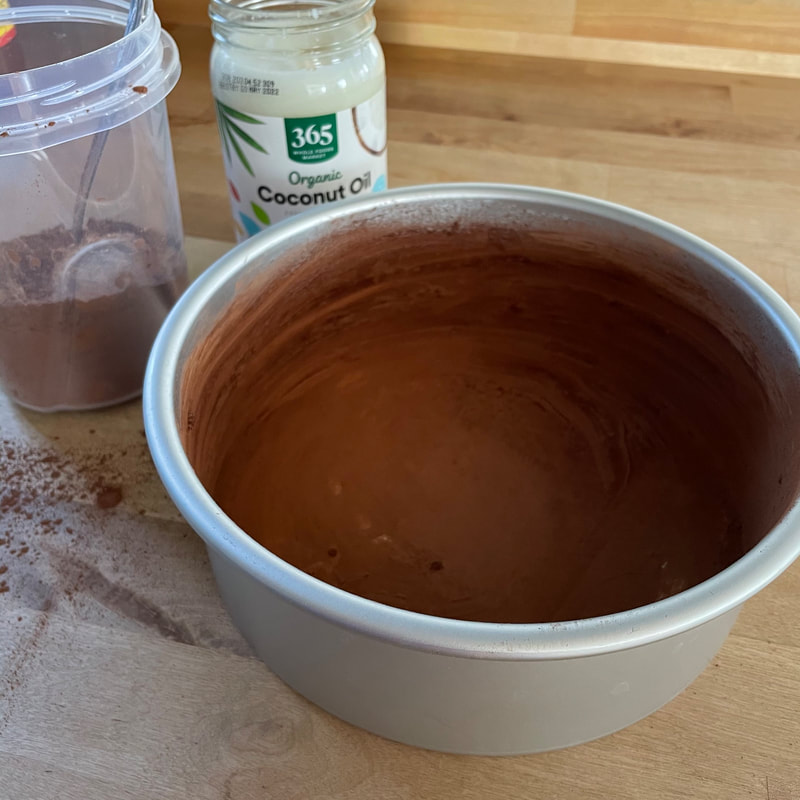
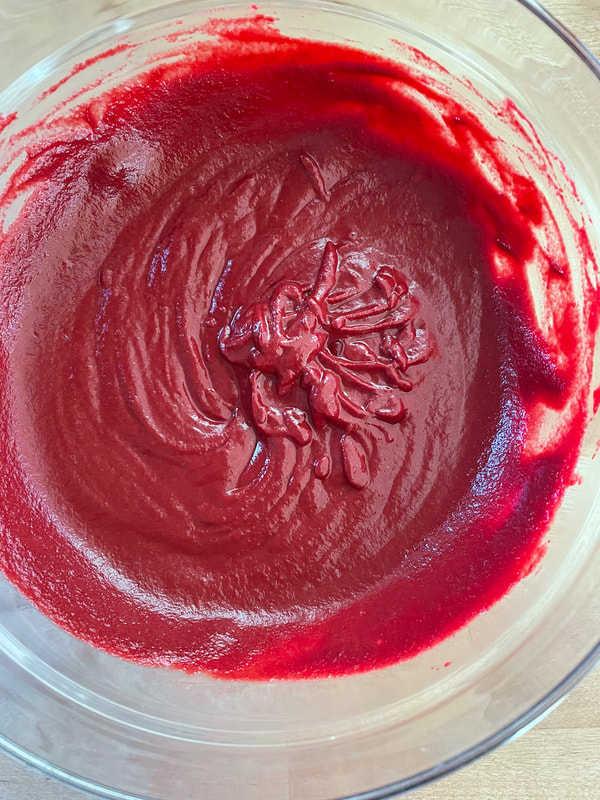
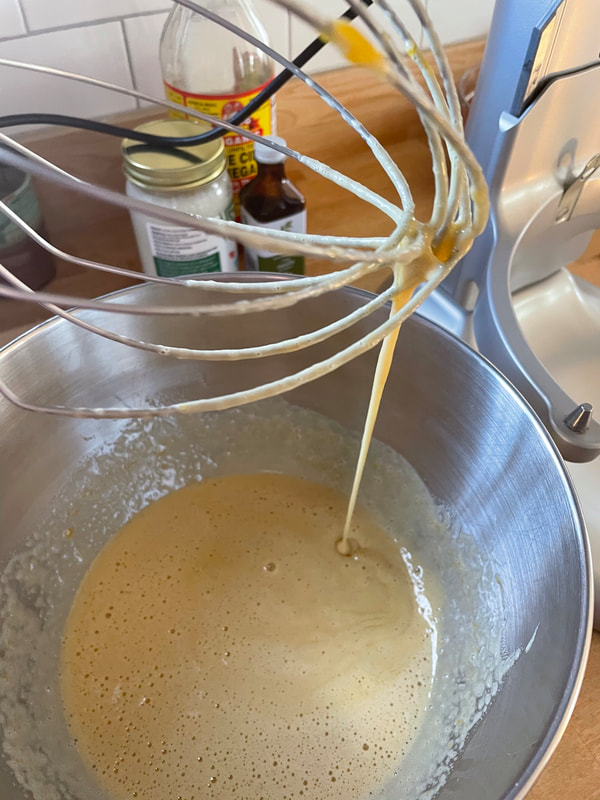
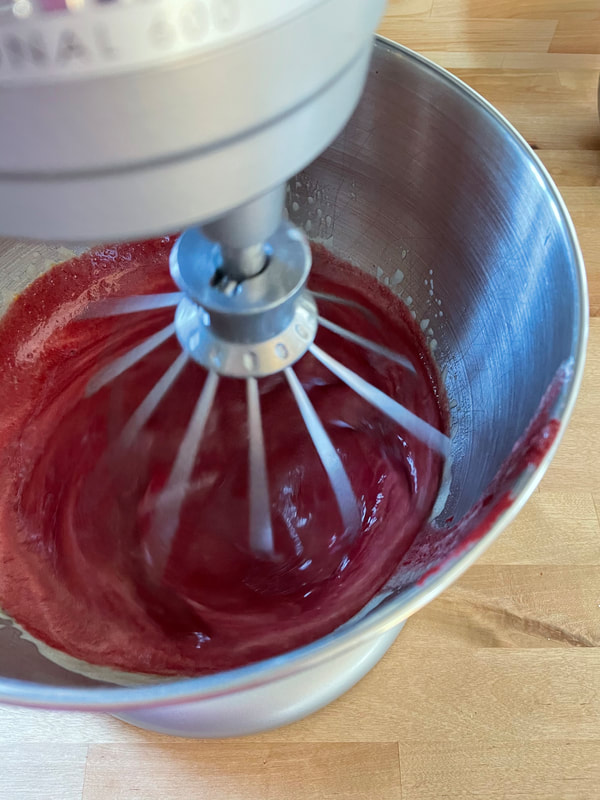
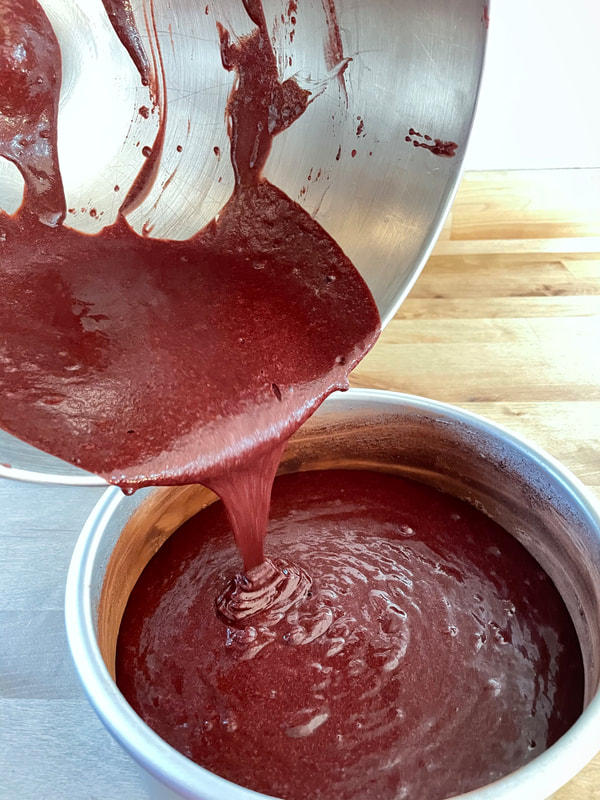
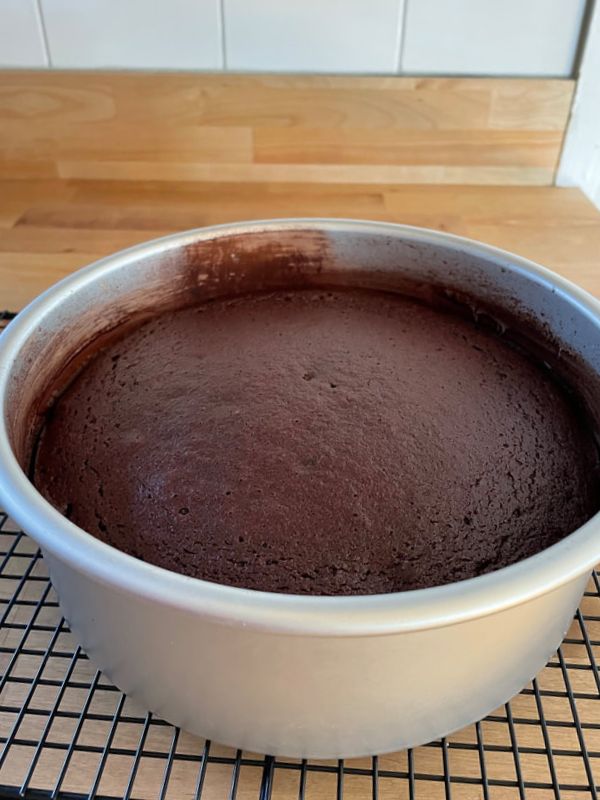
 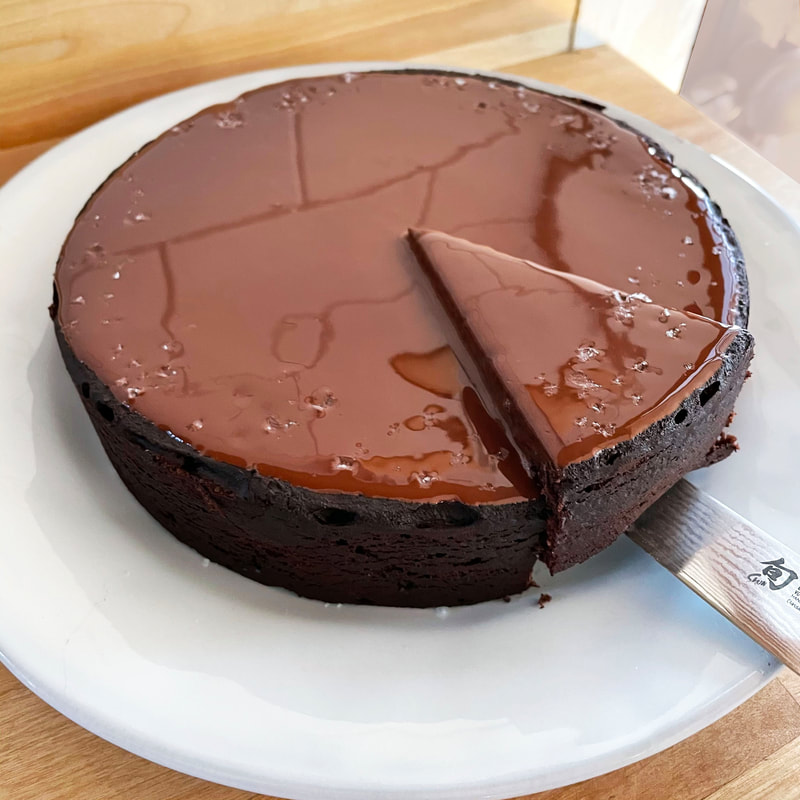 The other day I had a jolting realization. It suddenly occurred to me that for the entirety of this year’s C.S.A. I had yet to include a SINGLE sweet recipe! As some folks know, I am very much into baking. I did so professionally in my early twenties and still love to bake at home when I have the time. I particularly love baking gifts for family and friends. And as anyone who has a passion for baking knows, sometimes you just crave baking! It isn’t even so much about actually eating what I make (though, let’s be honest, I love eating ), but similar to the act of making soup for me, the method and ritual of baking is so soothing to me. I love to mise en place, to get out all my favorite tools, read the recipes, weigh the ingredients, smell everything coming together, intricately decorate… I love every bit of it. In honor or sharing what I love, I have a magical Beet Chocolate Cake recipe for you to indulge in! It is really not unlike your typical chocolate cake, however, the use of super fine almond flour, beets, a touch of cinnamon and coconut oil, sneak in this extra depth of flavor you don’t always find in your standard chocolate cake. For this reason, I adore this cake. It is only one layer, so no need to worry about fussy stacking and I make a simple chocolate glaze to pour over the top to give it that extra hit of chocolate and shine. Don’t be afraid of the beets! If you don’t tell someone they are in there, I can guarantee you they will not even know! Happy baking! Kristi  ALMOND FLOUR BEET CHOCOLATE CAKENotes on the recipe: I have included most dry ingredients with both volume and weight measurements. I prefer to measure by weight as often as I can, since it yields the most accurate results, but if you do not have a kitchen scale, not to worry! The volume measurements are there too. I have not tried this recipe with anything but almond flour, so if you opt to use another gluten-free flour or regular flour, I can not guarantee good results. Let me know how it goes if you do experiment! This recipe is adapted from Bon Appetit. INGREDIENTS 1 # red beets 1 ½ cup or 170 g super-fine almond flour (I like Bob’s Red Mill) ½ cup or 43 g cocoa powder (be sure to use Dutched cocoa powder) ½ t. Baking soda ½ t. Cinnamon 1 t. Espresso powder 2 oz. bittersweet chocolate, coarsely chopped 1 t. Apple cider vinegar or white vinegar (which ever you have on hand) 1 t. Vanilla extract 4 large eggs 1 1/4 cup or 194 g light brown sugar 2 T. Or 42 g coconut oil Heavy pinch of salt METHOD
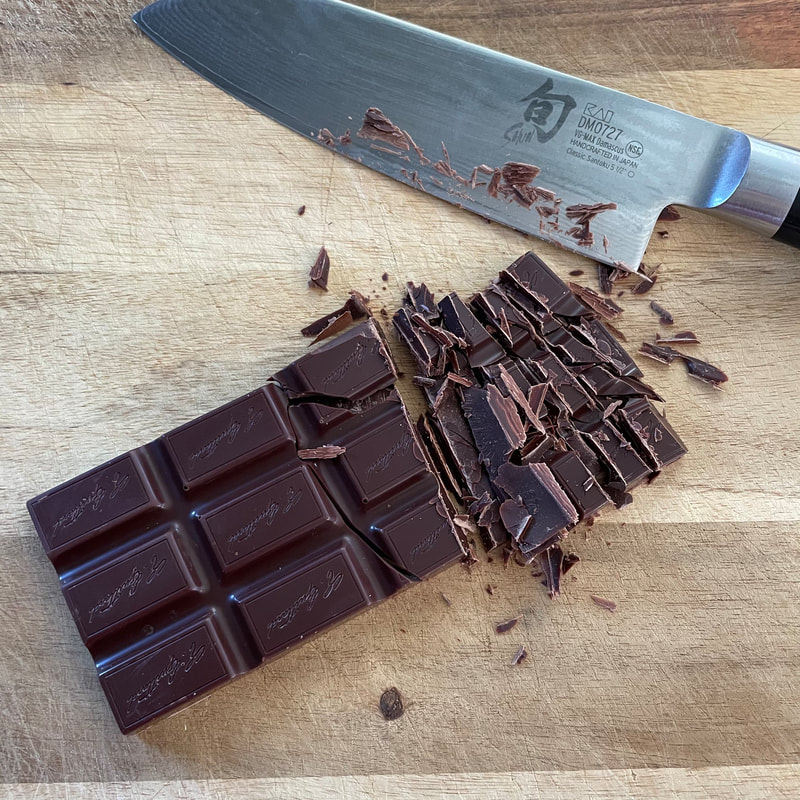 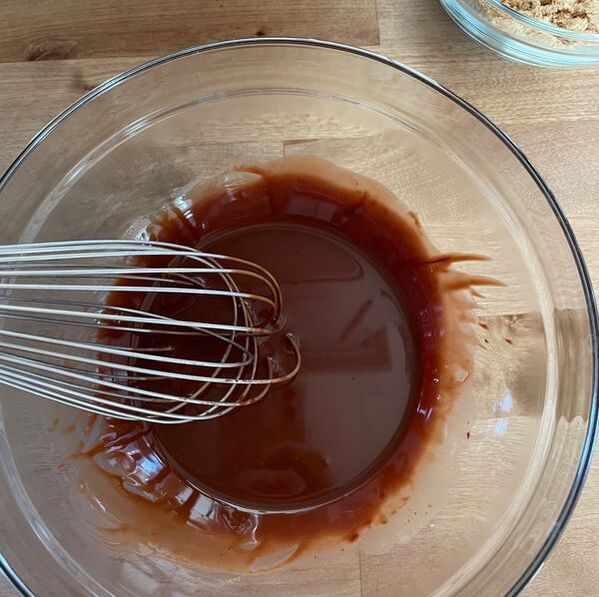
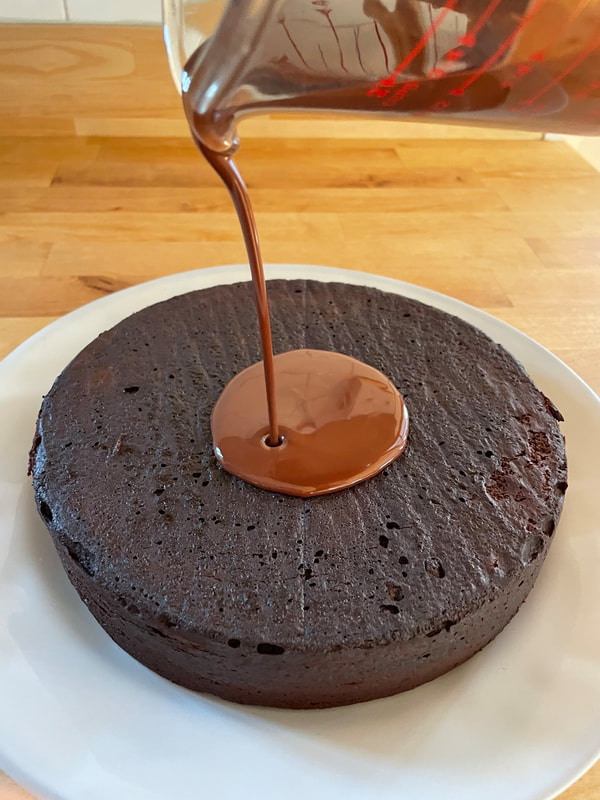
 Once your cake is cool, you can mix up your glaze! GLAZE* 3 oz. bittersweet chocolate, chopped finely 22g or 2 Tablespoons coconut oil 1/4 teaspoon vanilla extract *Note: This is cake is lovely with just a simple dusting of powdered sugar and served with a scoop of vanilla ice cream. Additionally, a simple raspberry compote or similarly sweet and tart fruit accompanies this cake very well!. In other words; The glaze is not a necessity if you don't feel like making it, but it is very good!
You can refrigerate this cake in a sealed container for up to a week or less, since it is a challenge to not polish this one off rather quickly! |
What's going on in the kitchen?We love our vegetables and we cook and bake with them constantly. Here is a space where we can share what we have going on in the kitchen with you! Archives
August 2021
Categories
All
|
 RSS Feed